Ready in: 1 hour 30 minutes · Serves: Variable · Technique: No-Bake · Storage: Airtight container at room temperature.
Quick Answer
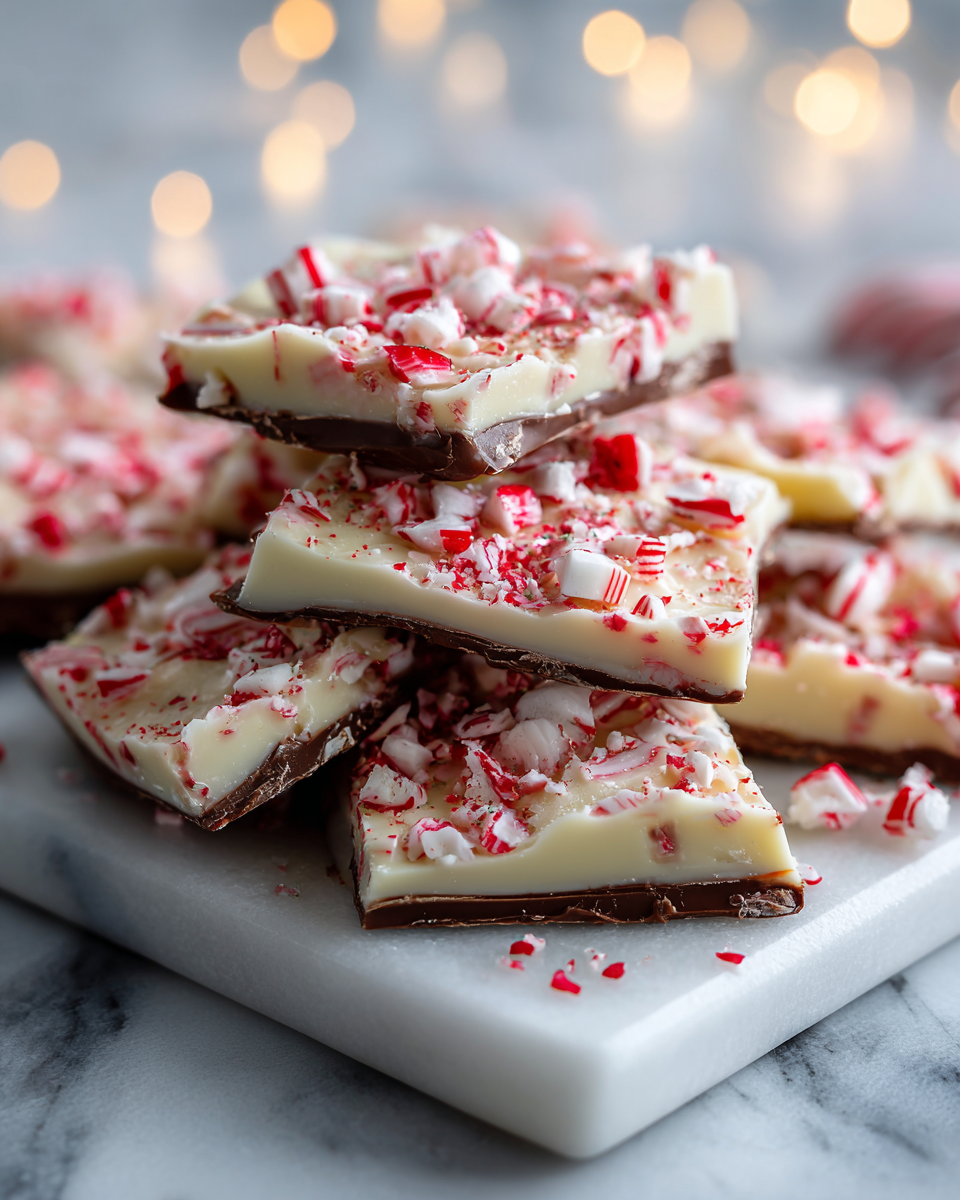
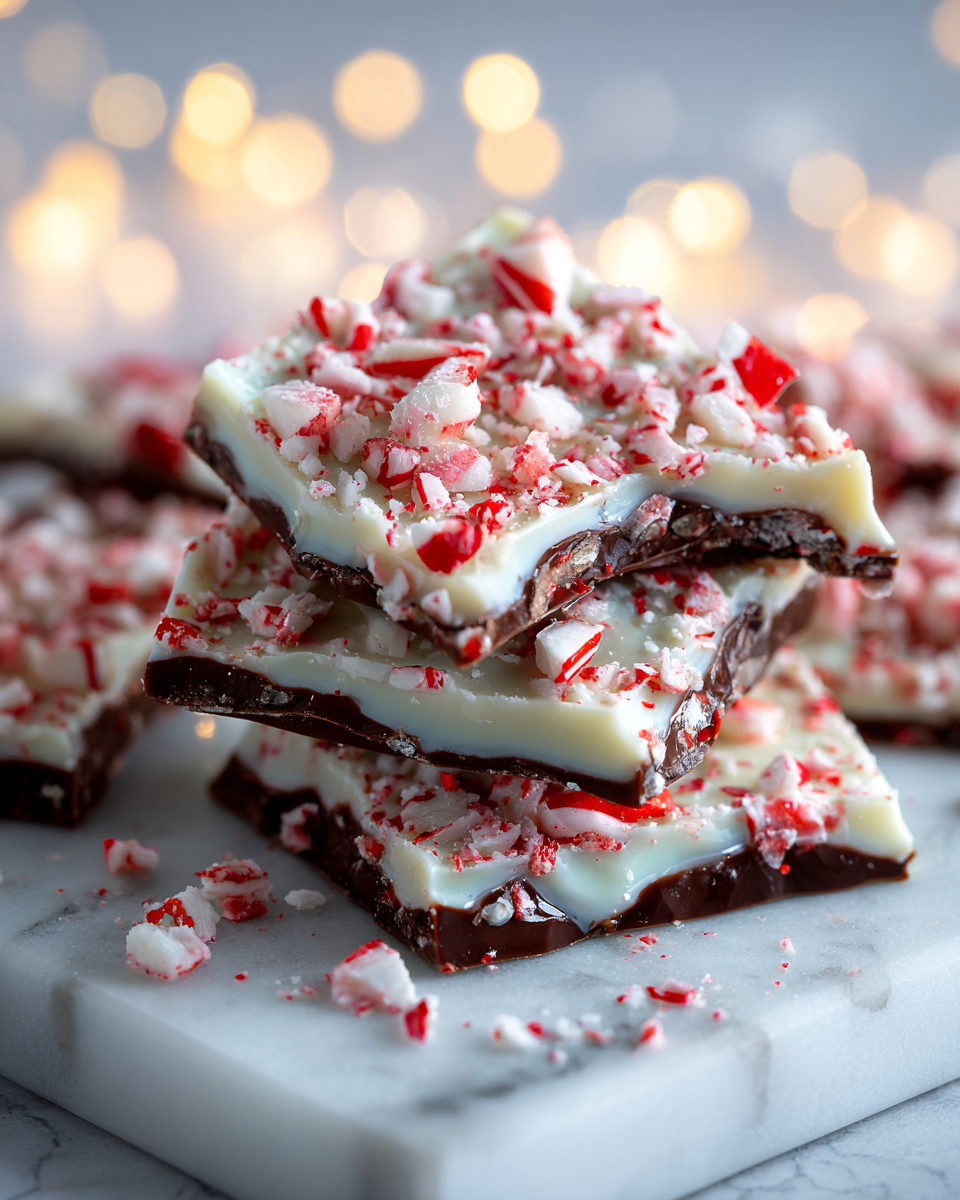
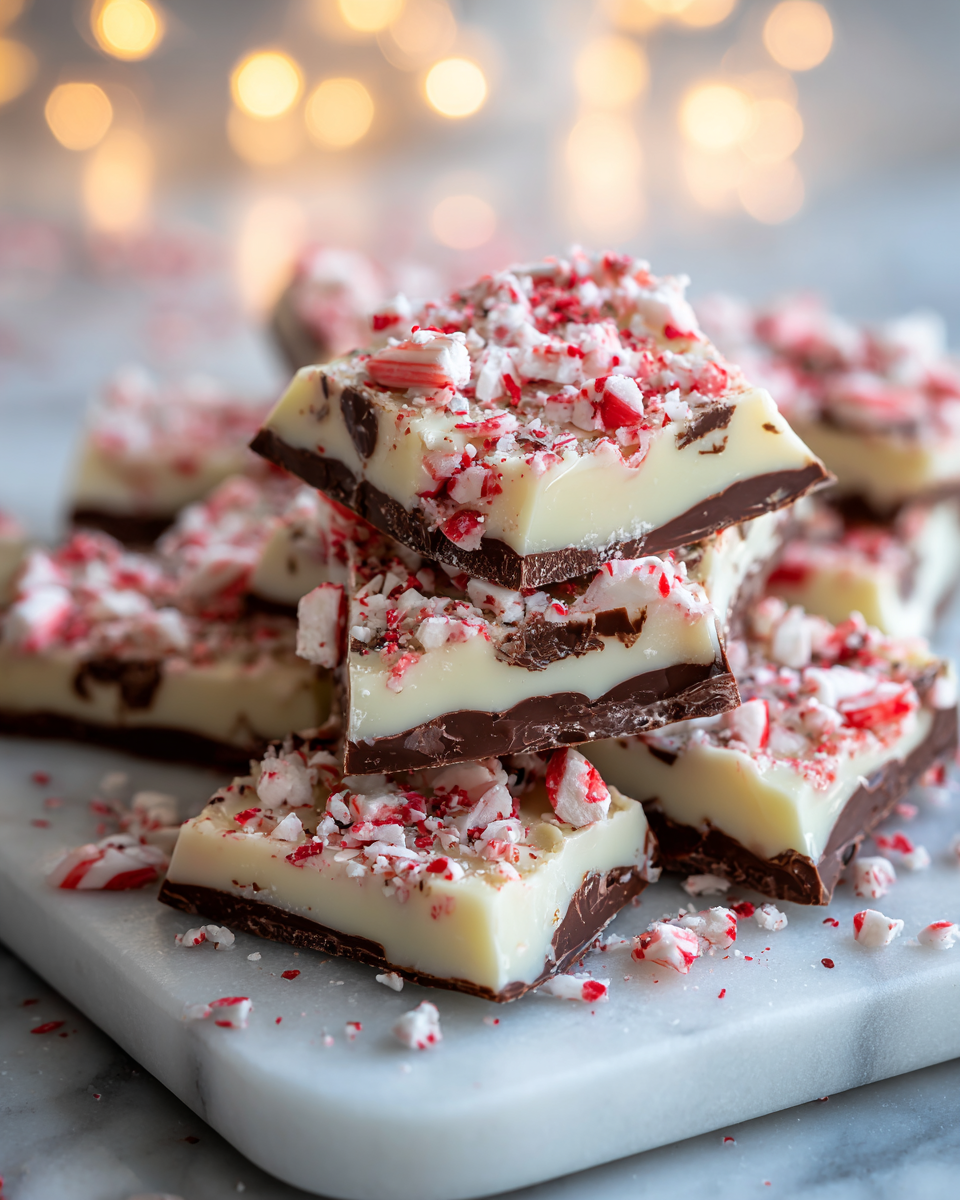
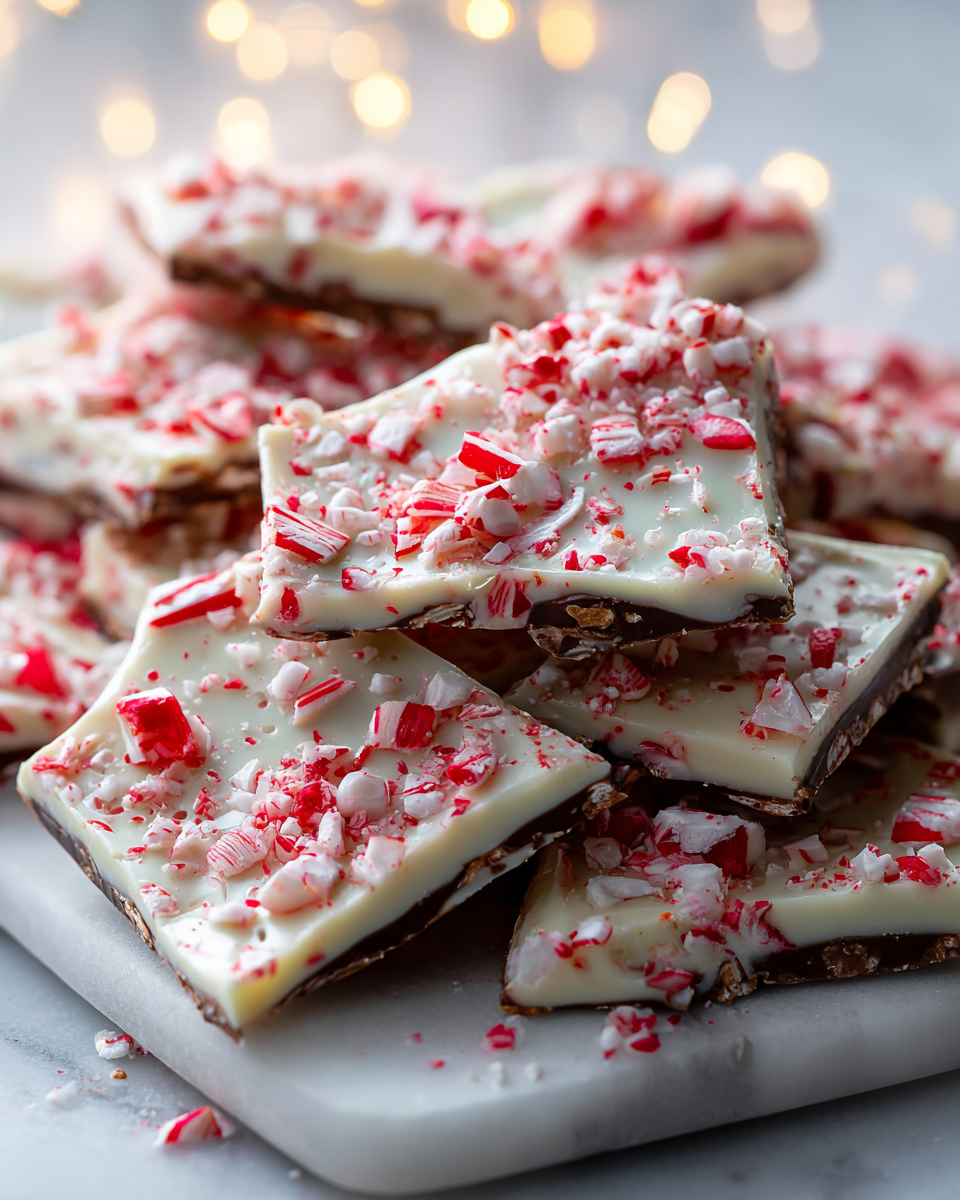
This peppermint bark recipe combines melted bittersweet and white chocolate with crushed peppermint candies for a festive treat.
With the chill of winter creeping into the streets of New York City and the festive spirit bubbling over, I find myself drawn to a sweet treat that captures the essence of the season: Peppermint Bark. This delightful confection combines the rich flavors of chocolate with the refreshing crunch of peppermint, making it the perfect centerpiece for my holiday gatherings, from Thanksgiving to Christmas.
A Cozy Holiday Treat
Why You'll Love This Recipe
- It's a festive treat that perfectly combines rich chocolate and refreshing peppermint.
- Perfect for holiday gatherings and gifting to friends and family.
- Easy to make with just a few simple ingredients and steps.
- Can be customized with additional toppings like nuts or drizzles of chocolate.
- Long-lasting when stored correctly, making it ideal for snacking throughout the season.
Ingredients
Gather these simple ingredients for a delightful peppermint bark.
Chocolate Layers
- 12 ounces bittersweet chocolate (I prefer Ghirardelli for its smooth melting properties)
- 12 ounces white chocolate (look for a high-quality brand like Merckens)
Flavoring and Toppings
- 1 teaspoon peppermint extract (for that perfect hint of mint)
- 1 cup crushed peppermint candies (I like to use a mix of candy canes and peppermint mints for texture and flavor)
How to Make Peppermint Bark (Step-by-Step)
Follow these steps to create your delicious peppermint bark.
Step 1: Prepare Your Workspace
Before diving into the melting process, I set up my double boiler. This can be easily done by placing a heatproof bowl over a pot of simmering water. The key is avoiding direct heat-the gentle warmth allows the chocolate to melt smoothly.
Step 2: Melt the Bittersweet Chocolate
I start by placing the bittersweet chocolate in the bowl and stirring occasionally. As it begins to melt, a soothing aroma fills the kitchen, reminiscent of cozy nights spent by the fire. Once it's glossy and fully melted, I remove it from the heat and carefully pour it onto a large baking sheet lined with parchment paper, spreading it out into an even layer.
Step 3: Chill and Prepare for Layering
I let the bittersweet layer cool in the refrigerator for about 30 minutes. As it hardens, I turn my attention to the white chocolate, repeating the melting process in the same double boiler. This time, I add the peppermint extract, which infuses a delightful aroma that truly embodies the holiday season.
Step 4: Create the Peppermint Layer
Once the white chocolate is melted and smooth, I remove it from the heat and carefully pour it over the chilled bittersweet layer. Using a spatula, I ensure it covers the entire surface, sealing in all that rich chocolate goodness.
Step 5: Sprinkle the Crushed Peppermint
Before the white chocolate sets, I generously sprinkle the crushed peppermint candies on top, pressing them slightly into the white chocolate. The vibrant red and white bits look like little jewels against the snowy canvas.
Step 6: Final Chill
I return the whole baking sheet to the refrigerator and let it chill until fully hardened, which usually takes about an hour. The waiting is tough, as the sweet scent continues to waft through my kitchen.
Step 7: Break It Into Pieces
Once set, I remove the peppermint bark from the fridge and carefully break it into pieces. I love the uneven shapes-it adds a rustic charm perfect for gifting or indulging with friends.
Common Mistakes to Avoid
- Not Tempering the Chocolate: Be cautious with the heat; overheating will give you a lumpy texture. Mix gently and don't rush.
- Skipping the Peppermint Extract: This step is crucial for enhancing the peppermint flavor-trust me on this one!
- Crowding the Baking Sheet: When pouring the melted layers, give them space to spread. A crowded pan means uneven layers.
Tips and Tricks for Success
- For a touch of visual flair, drizzle some melted chocolate over the top before the peppermint sets.
- Consider adding a sprinkle of sea salt to enhance the overall flavor profile.
- If you want to get creative, try mixing in additional toppings like nuts or dried fruit with the peppermint.
Variations
- Use dark chocolate instead of bittersweet for a richer flavor.
- Substitute crushed Oreo crumbs for a unique twist on the peppermint layer.
- Add a hint of orange or almond extract for different flavor profiles.
How to Serve
- Break into uneven pieces for a rustic presentation.
- Serve in cute holiday tins for gifting.
- Pair with warm drinks like hot chocolate or coffee.
Make Ahead and Storage
- Make Ahead: You can prepare peppermint bark a few days in advance and store it until you're ready to serve.
- Storage: Keep the peppermint bark in an airtight container at room temperature for up to two weeks.
- Reheating: There's no need to reheat; simply enjoy it as is!
- Freezing: If needed, peppermint bark can be frozen for longer storage. Just ensure it's sealed well to prevent freezer burn.
Recipe Notes / What I Learned
Making peppermint bark is as much about the process as it is about the result. I've learned that the little details-like using high-quality chocolate and fresh peppermint-transform a simple treat into an extraordinary one. This holiday staple not only delights the palate but also warms the heart and soul, making it a cherished part of my seasonal traditions.
Yield and Serving Size
Yield: 24 pieces · Serving Size: 1 piece
Nutrition Snapshot
Estimated Nutrition Per Serving: ~150 calories · 1g protein · 18g carbs · 8g fat

Recipe by:
Delicious No-Bake Peppermint Bark
Ingredients
Equipment
Method
- Prepare your workspace by setting up a double boiler to melt the chocolate.
- Melt the bittersweet chocolate in the double boiler, stirring occasionally, until glossy.
- Pour the melted chocolate onto a lined baking sheet and spread evenly. Chill for 30 minutes.
- Melt the white chocolate with peppermint extract in the double boiler until smooth.
- Pour the white chocolate over the firm bittersweet layer and spread evenly.
- Sprinkle crushed peppermint candies over the top and press down gently.
- Chill again for 1 hour until fully hardened, then break into pieces.
Notes
FAQs
1. Can I use milk chocolate instead of bittersweet chocolate?
Yes, you can use milk chocolate for a sweeter treat, but it may alter the overall flavor profile.
2. How long does peppermint bark last?
Peppermint bark can be stored in an airtight container at room temperature for up to two weeks.
3. Can I add other toppings to my peppermint bark?
Absolutely! You can mix in nuts, dried fruit, or even sprinkle some sea salt for an enhanced flavor.
4. Why is tempering chocolate important?
Tempering chocolate helps achieve a smooth, glossy finish and prevents it from becoming lumpy or grainy.
5. Can I make peppermint bark without a double boiler?
While a double boiler is recommended for melting chocolate evenly, you can use a microwave in short bursts, stirring in between.