Ready in: 1 hour · Serves: 4 · Technique: Baking · Storage: Up to 3 days in the refrigerator.
Quick Answer
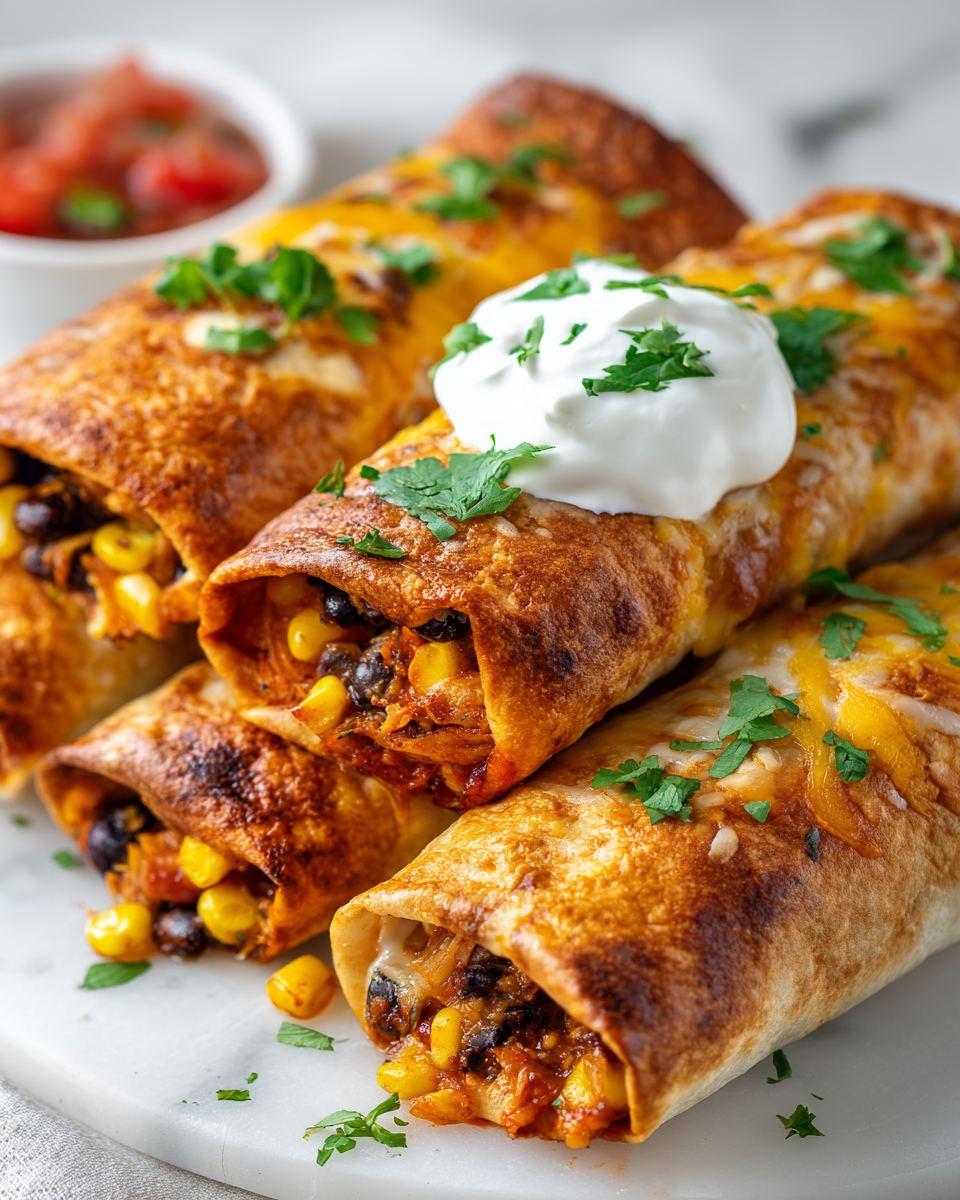
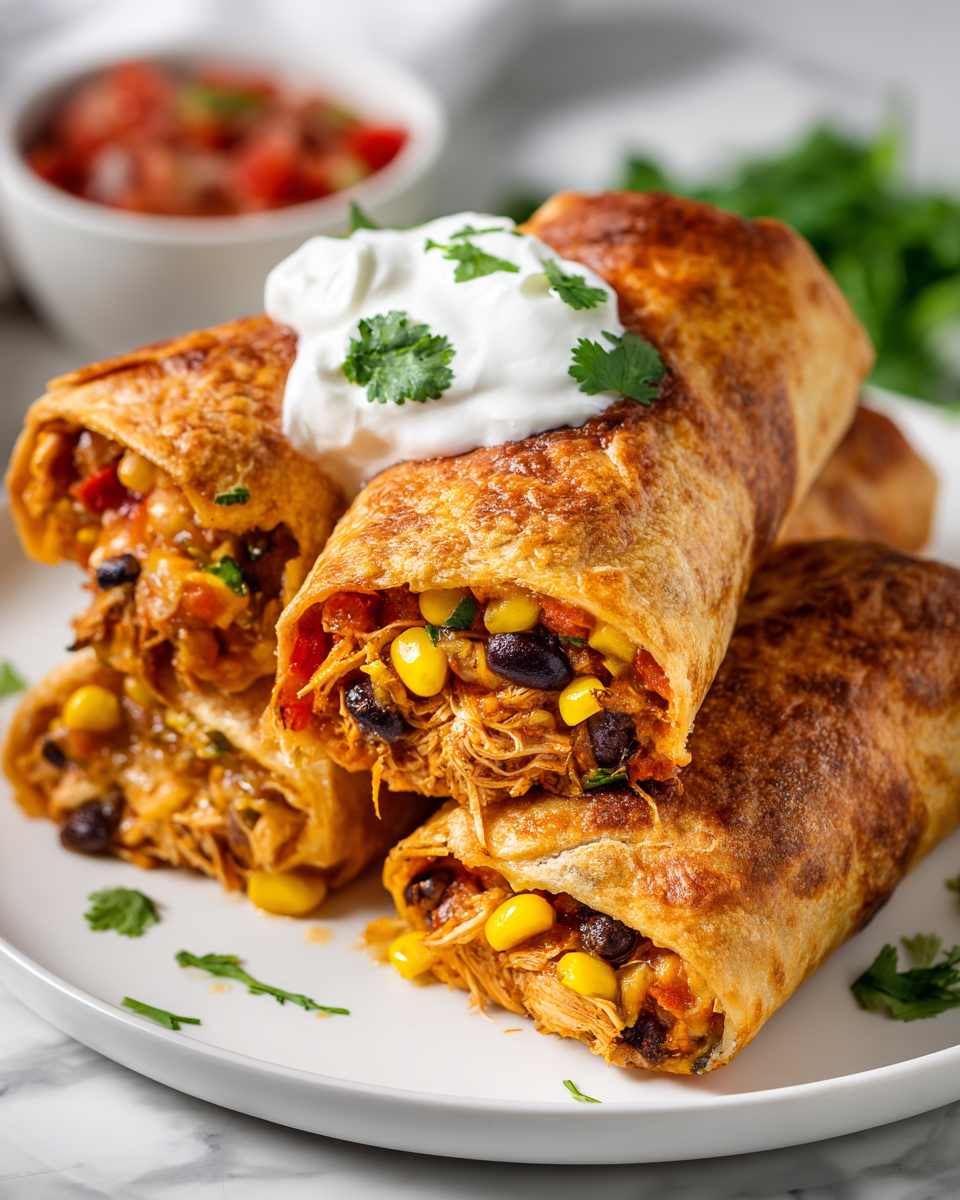
These Baked Chicken Chimichangas are delicious, crispy tortillas filled with a hearty mixture of chicken, cheese, and spices, perfect for any occasion!
As the crispness of fall settles in and Thanksgiving and Christmas approach, there's a growing desire for comforting meals that bring joy and warmth. I recently decided to whip up some Baked Chicken Chimichangas, and let me tell you, they were a hit! The simplicity of this dish, combined with its delicious flavor, makes it perfect not only for busy weeknights but also as a festive surprise for holiday gatherings.
A Cozy Holiday Treat
These chimichangas not only satisfy the craving for something cozy and filling but also bring a festive touch to your table, making them ideal for any holiday gathering.
Why You'll Love This Recipe
- Easy to make with just a few simple ingredients.
- Perfect for busy weeknights or festive gatherings.
- Customizable to suit your taste-add jalapeños for a kick or swap cheese for avocado.
- Baked, not fried, so they're a healthier option without sacrificing flavor.
- Great for leftovers; they reheat beautifully without losing their crispiness.
Ingredients
Here's what you'll need to create these delightful chimichangas:
Chicken and Filling
- 2 cups of shredded cooked chicken (rotisserie chicken works wonderfully)
- 1 cup of shredded cheese (sharp cheddar is recommended)
- 1 cup of black beans, drained and rinsed
- 1 cup of corn (fresh or thawed frozen)
- 1 teaspoon of ground cumin
- 1 teaspoon of chili powder
- ½ teaspoon of garlic powder
- Salt and pepper to taste
Tortillas and Cooking
- 4 large flour tortillas (around 10 inches wide)
- Cooking spray (or a brush of olive oil)
Serving Suggestions
- Sour cream, salsa, and guacamole for serving (optional but recommended)
How to Make Baked Chicken Chimichangas (Step-by-Step)
Follow these simple steps to whip up perfectly baked chicken chimichangas that everyone will love!
Step 1: Preheat Your Oven
Begin by preheating your oven to 375°F (190°C). This will ensure that your chimichangas achieve a beautiful golden color as they bake.
Step 2: Prepare the Filling
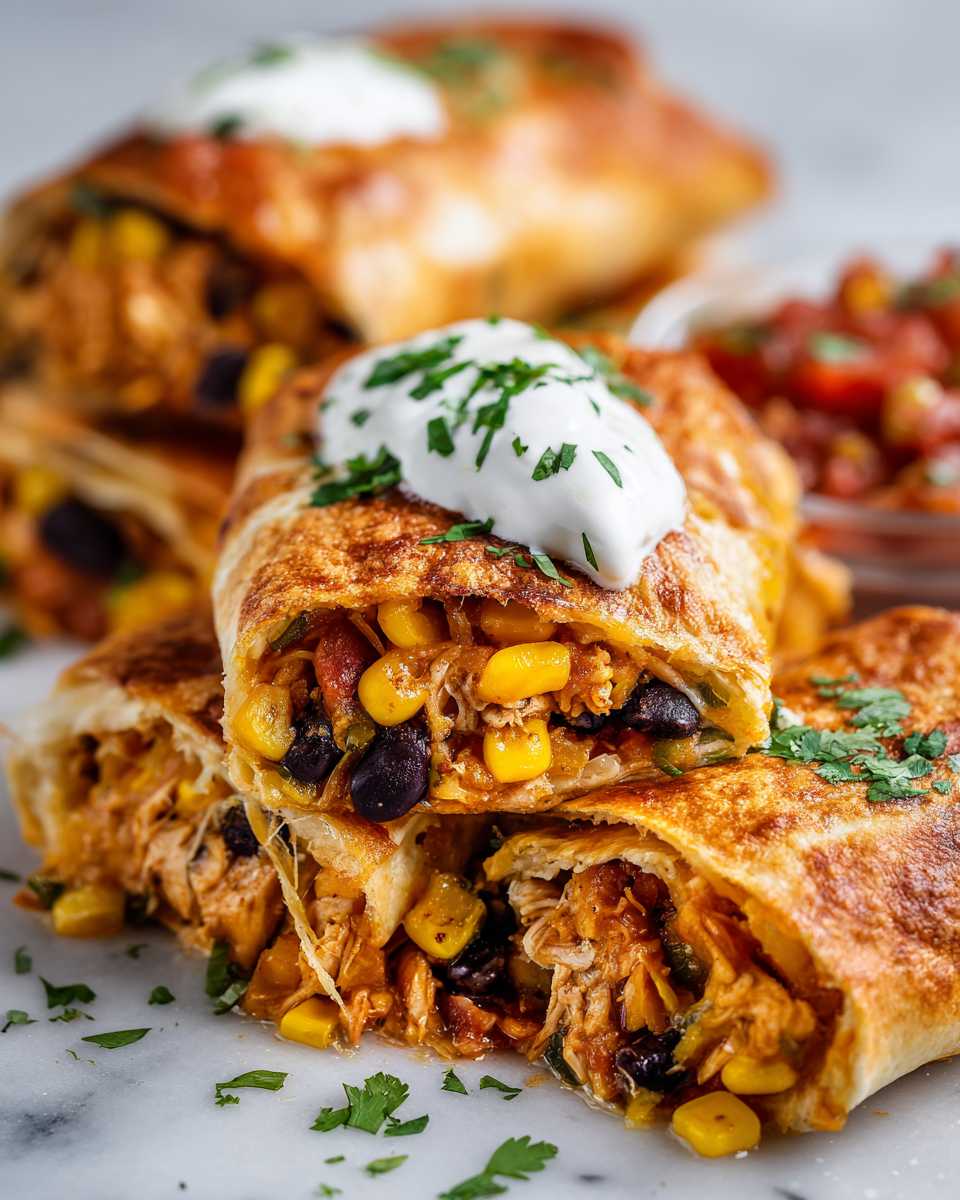
In a large bowl, combine the shredded chicken, cheese, black beans, corn, cumin, chili powder, garlic powder, salt, and pepper. Stir until everything is well mixed, ensuring every bite includes all those delicious elements.
Step 3: Assemble the Chimichangas
Lay a tortilla flat on a clean surface. Spoon about ½ cup of the chicken filling onto the center of the tortilla. Fold in the sides and roll it up tightly, tucking the ends in as you go. Repeat this for all tortillas and filling.
Step 4: Prepare for Baking
Line a baking sheet with parchment paper and arrange the chimichangas seam-side down. Spray the tops generously with cooking spray or brush with olive oil to ensure they crisp up nicely in the oven.
Step 5: Bake Them
Place the baking sheet in the oven and bake for 25-30 minutes until golden brown and crispy. Enjoy the amazing aroma filling your kitchen as they bake.
Step 6: Serving
Once baked, let the chimichangas cool for a few minutes before serving. Pair them with sour cream, salsa, or guacamole, and watch everyone enjoy these tasty treats!
Common Mistakes to Avoid
- Skipping the cooking spray: This is key for achieving that lovely golden brown and crispiness; don't skip it!
- Overfilling the tortillas: It might be tempting to cram in more filling, but too much will make them difficult to close and can lead to spills during baking.
- Ignoring the rest time: If you cut into them too soon, the filling may ooze out; let them cool slightly for the best presentation and enjoyment.
Tips and Tricks for Success
- For extra kick, consider adding diced jalapeños or a sprinkle of cayenne pepper into the filling.
- If you prefer a softer tortilla texture, you can lightly warm the tortillas in a dry pan before filling them. This makes them easier to roll and easier on the bite.
- For an even healthier option, swap half of the cheese for avocado or Greek yogurt for a creamy twist.
Variations
- Swap chicken for shredded beef or pork for a different protein option.
- Use different types of cheese, such as pepper jack or mozzarella, for varied flavor.
- Incorporate different vegetables, like diced bell peppers or spinach, for added nutrition.
- Experiment with different spices, such as smoked paprika or taco seasoning, to customize the flavor profile.
How to Serve
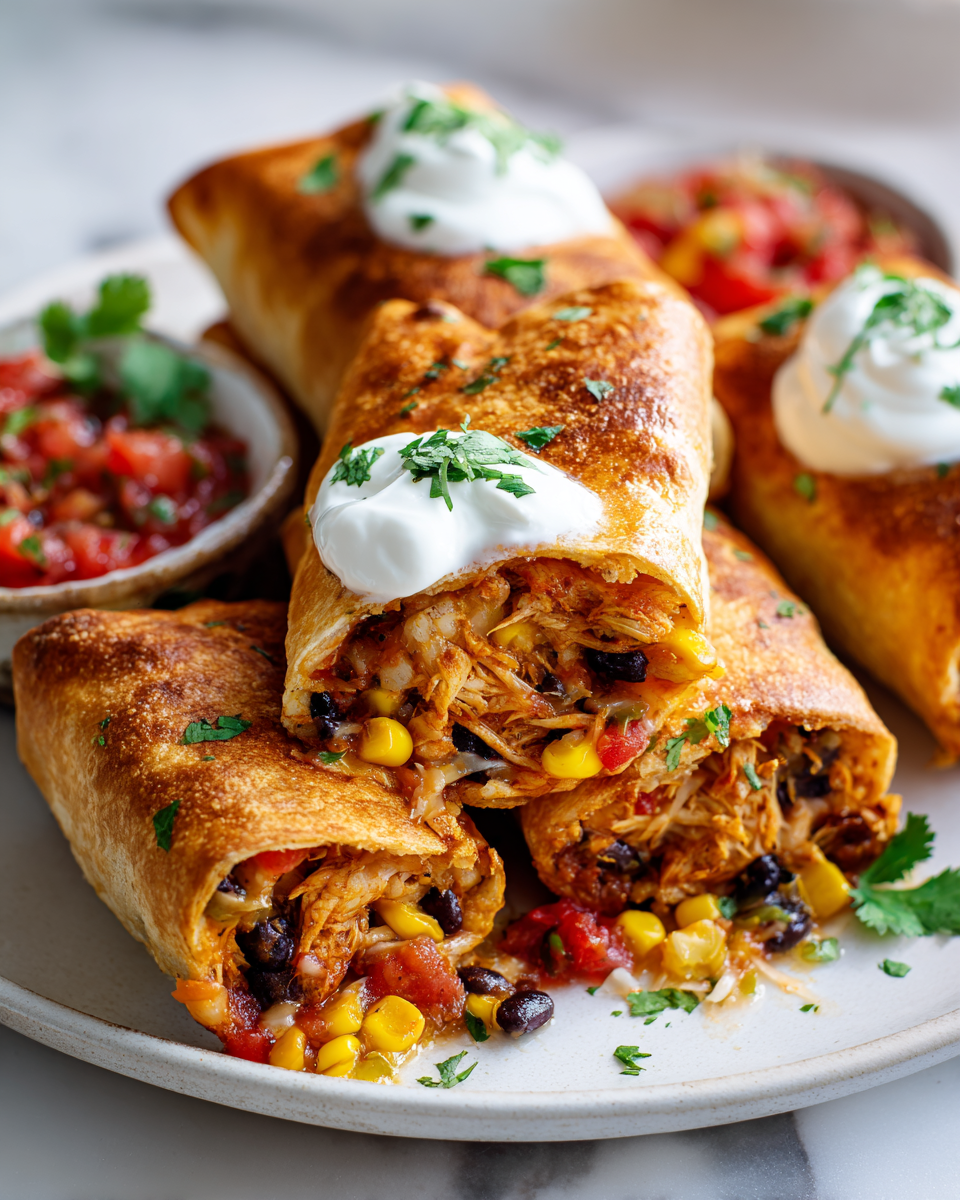
- Serve with sour cream, salsa, or guacamole on the side for dipping.
- Add fresh cilantro or sliced avocado for a garnish that enhances flavor and presentation.
- Pair with a side salad or rice for a complete meal.
- Offer a variety of hot sauces for guests to personalize their chimichangas.
Make Ahead and Storage
- Make Ahead: You can prepare the filling a day in advance and store it in the refrigerator, making assembly quick and easy.
- Storage: Store any leftovers in an airtight container in the refrigerator for up to 3 days.
- Reheating: Reheat in the oven or air fryer for that fresh-out-of-the-oven taste; microwaving can make them soggy.
- Freezing: Unbaked chimichangas can be frozen; wrap individually and store in a freezer-safe bag. Bake straight from the freezer when ready.
Recipe Notes / What I Learned
Creating these Baked Chicken Chimichangas taught me that even simple ingredients can come together to create something truly special. They evoke the cozy feeling of gathering with loved ones during the holidays, making them perfect for Thanksgiving or Christmas feasts.
Yield and Serving Size
Yield: 4 chimichangas · Serving Size: 1 chimichanga
Nutrition Snapshot
Estimated Nutrition Per Serving: ~350 calories · 22g protein · 35g carbs · 15g fat

Recipe by:
Crispy Baked Chicken Chimichangas
Ingredients
Equipment
Method
- Preheat your oven to 375°F (190°C).
- In a large bowl, combine the shredded chicken, cheese, black beans, corn, cumin, chili powder, garlic powder, salt, and pepper. Stir until everything is well mixed.
- Lay a tortilla flat on a clean surface. Spoon about ½ cup of the chicken filling onto the center of the tortilla. Fold in the sides and roll it up tightly. Repeat for all tortillas and filling.
- Line a baking sheet with parchment paper and arrange the chimichangas seam-side down. Spray the tops generously with cooking spray or brush with olive oil.
- Place the baking sheet in the oven and bake for 25-30 minutes until golden brown and crispy.
- Let the chimichangas cool for a few minutes before serving. Pair them with sour cream, salsa, or guacamole.
Notes
FAQs
1. Can I use raw chicken instead of cooked chicken for this recipe?
It's best to use cooked chicken so that the filling is flavorful and safe to eat. You can use rotisserie chicken, or bake or boil your chicken beforehand to shred it.
2. What cheese works best in baked chicken chimichangas?
A sharp cheddar is preferred for its strong flavor, but you can also use Monterey Jack, pepper jack, or a blend of cheeses depending on your preference.
3. Can I make these chimichangas ahead of time?
Yes, you can prepare the chimichangas and store them in the refrigerator before baking. Just make sure to cover them well to prevent them from drying out.
4. How do I prevent the tortillas from tearing when rolling them?
Warming the tortillas lightly in a dry pan before filling will make them more pliable and easier to roll without tearing.
5. What are some good side dishes to serve with chimichangas?
Chimichangas pair well with a fresh side salad, Mexican rice, refried beans, or guacamole and salsa for dipping.